- Back to Home »
- Step-by-step guide to diy garden shed design and build

Hey there, fellow gardening enthusiast! Ever dreamt of having a dedicated space for your tools, seeds, and all those gardening goodies? Well, building your own garden shed is easier than you think! It's a project that's both rewarding and practical. So, grab your coffee (or tea, we don't judge!), let's dive into this adventure together.
1. Planning Your Perfect Shed:
First things first, let's get your creative juices flowing. What do you envision for your shed? Are you dreaming of a simple storage unit or a more elaborate workspace with a workbench and windows? Do you need it to be weather-resistant? Think about these factors and jot them down.
Size Matters: Measure the area you want to build on and consider what you'll be storing. Don't go too small, but remember, bigger sheds can get more expensive to build.
Materials, Materials, Materials: What vibe are you going for? Wood is classic and readily available. Metal sheds are sturdy and low-maintenance. If you want something eco-friendly, think about using recycled materials.
Budgeting for Your Eden: Set a realistic budget and stick to it. Price out materials, tools, and any extras like paint or shingles. Don't forget to factor in permits if your local laws require them.
2. Laying the Foundation: The Base of Your Dream:
This is where things start getting real! Choosing the right foundation is crucial for a stable and long-lasting shed. Here are a few options:
Concrete Slab: Strongest and most durable, but it's the most labor-intensive. If you're going with this option, make sure to pour it on a level base and allow it to cure completely before building.
Concrete Blocks: A bit easier to manage than a slab. You can create a strong foundation by stacking blocks and filling the gaps with concrete.
Pressure-Treated Lumber: A budget-friendly option, but make sure to use pressure-treated wood to prevent rot and decay. This option is good for sheds on a leveled ground.
3. Framing the Walls: Creating the Skeleton of Your Shed:
Now for the fun part! This is where your shed starts taking shape. Here are some tips:
Choose your lumber: Go for sturdy, straight pieces. Consider using pressure-treated wood for the bottom plates to prevent rot.
Cut and assemble: Measure carefully and cut the lumber according to your plan. Use a level to ensure your walls are square and plumb. Join the framing with nails or screws.
Sheathing the walls: This adds rigidity and helps to create a smooth surface for your siding. Use plywood or OSB sheathing and attach it to the framing.
4. Roofing It Right: Keeping Your Shed Safe and Dry:
A well-designed roof will protect your shed from the elements. Here's what you need to know:
Choose your roof style: A simple gable roof is easy to build and provides good water runoff. A shed roof is another popular option for its simplicity.
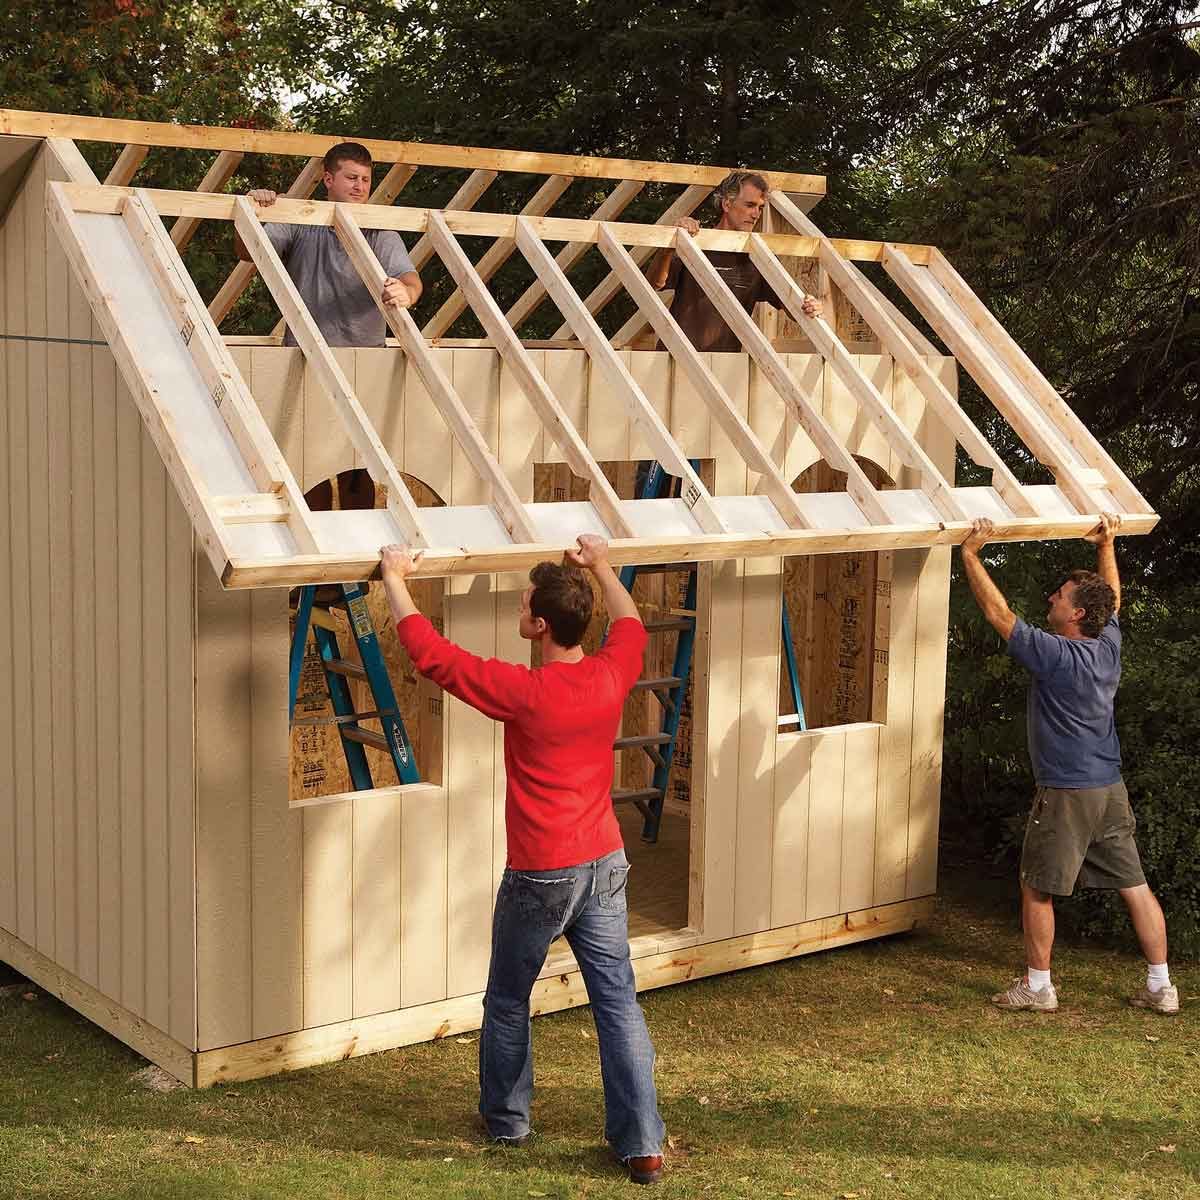
Frame the rafters: Cut the rafters to size and attach them to the wall plates. Make sure they are spaced evenly and supported by a ridge board.
Sheathe the roof: Use plywood or OSB sheathing to create a solid base for your roofing material.
Choose your roofing material: Asphalt shingles are a popular choice for their affordability and durability. Metal roofing is another option for its long life and energy efficiency.
5. Siding and Trim: Giving Your Shed a Facelift:
Now comes the part where your shed starts looking like a finished product! Choosing the right siding and trim can make a big difference in the overall look:
Siding options: Wood siding is classic and adds warmth to your shed. Vinyl siding is low-maintenance and comes in a variety of colors and styles. Fiber cement siding is durable and fire-resistant.
Trim: Add decorative trim around the windows, doors, and rooflines to create a polished look.
6. Doors and Windows: Adding Light and Access:
Time to decide how you'll get in and out and how much light you want to let in!
Doors: Choose a size that's comfortable for you and will accommodate the items you plan to store. A double door can be helpful for large items.
Windows: Add windows for natural light and ventilation. You can choose from various styles and sizes to match your shed's design.
7. Finishing Touches: Making Your Shed Shine:
Almost there! It's time to add those finishing touches that make your shed feel complete:
Paint or Stain: Give your shed a fresh coat of paint or stain to protect the wood and enhance its appearance.
Flooring: Choose a floor covering that's durable and easy to clean. Concrete, wood, or even tile can be great options.
Insulation: If you're planning to use your shed year-round, consider adding insulation to keep it warm in the winter and cool in the summer.
8. Bringing It All Together:
You did it! You've successfully built your own garden shed! Now it's time to enjoy your new space. Get organized, stock up on supplies, and prepare to unleash your inner green thumb!
Remember, building a shed is a journey, not a race. Don't be afraid to ask for help if you need it. There are tons of resources available online and at your local hardware store. Most importantly, have fun and enjoy the process! Your very own backyard oasis awaits.


